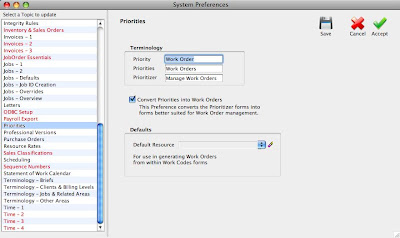
Go to System Preferences: Priorities and enter the values shown here:
You can create new Work Orders either via the 'Manage Work Orders' Power Tool or directly in an Activity. We will discuss 'Manage Work Orders' first. In the Navigator search box at the top right, enter 'Manage Work Orders' and select it. You will see:
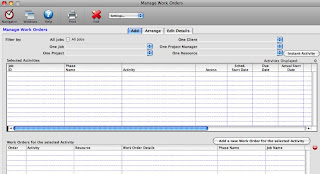
Using the Filters at the top, you can display Activities by Job, Project, Client, Project Manager or Resource.
When you have found the Activity for which you want to create a Work Order, please select it by clicking on it, and then click 'Add a new Work Order for the Selected Activity'.
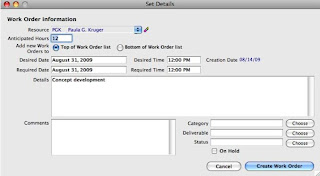
Generally, you will NOT enter a Resource and will leave the Work Order blank ('Unassigned') at this stage. After entering appropriate information, please click 'Create Work Order'.
The Work Order will be created and a dialog about printing the Work Order will be displayed, as follows:
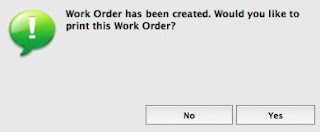
If you click 'Yes', the regular Custom Form dialog will be displayed and the new Work Order will be printed. Please make sure that you have added an appropriate Custom Form with the Form Name 'Work Order'.
Because the Work Order is a Custom Form, you can create essentially ANY format, fonts, images, and content for your Work Order. Either we can program the Work Order Custom Form for you or you can create your own, by learning to use the tools in the Custom Forms area.
When you return to the 'Manage Work Order' form, you will see the newly created Work Order in the 'Work Orders for selected Activity' grid at the bottom of the first page.
You can use the 'Arrange' tab to assign Work Orders to specific Resources, if necessary, by dragging Work Orders between Resources. The 'Select Resource' popup lists all Active Resources. If you scroll to the bottom of the popup, you will find an 'Unassigned' selection which can be used to show all Work Orders that have not been assigned to specific Resources.
If you leave the 'Manage Work Orders' area and go into the Activities area, either by drilling down through a Job or by going directly to Activities, you will see a tab called "Work Orders'. This will display all the Work Orders that have been created for this Activity.
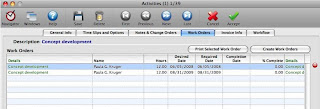
You can click on a Work Order and click 'Print Selected Work Order' to reprint an existing Work Order.
You can click 'Create Work Orders' to add a new Work Order to this Activity.
You can double-click on an existing Work Order to edit the Work Order. You will see:
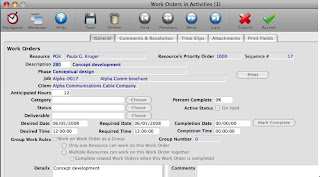
This form contains all of the information related to a Work Order.
On the 'Print Fields' tab, JobOrder stores the values from when the Work Order was FIRST created, whether it was printed or not. 'Update Print Fields' will overwrite these values with the current values of the parent Activity.
Please email if any of this information needs additional clarification.
Victor Siegle
JobOrder - Bond with your business


No comments:
Post a Comment